10 - Water, substrate and tank equipment
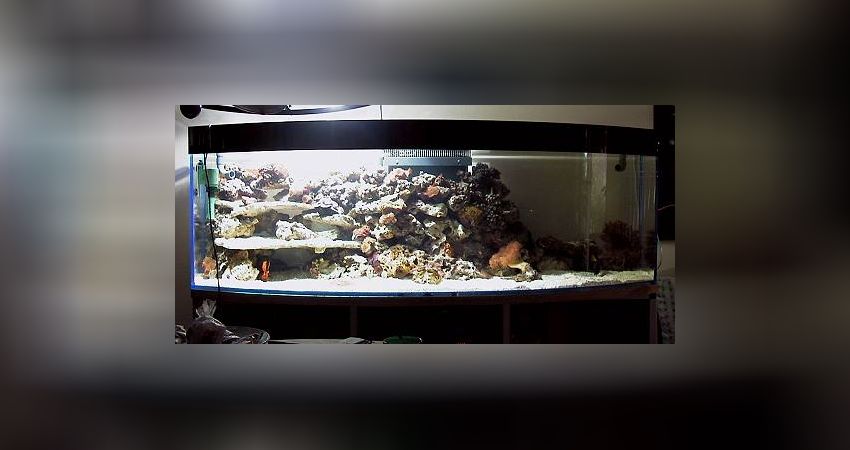
Everything you need to know about the source water, substrate and set-up can be found here
The water, substrate and tank equipment
Now that the aquarium is on its base, the filter tank is piped and you are actually ready, a leak test should follow. For this purpose, you can let the water run into the aquarium system. After that, you should start up all the technical equipment for a short time. After a few hours, when everything is leak-proof, you can proceed to the actual start-up phase after draining the water.
Water quality:
At the latest, the question should now arise as to whether you can use your tap water or whether you have to resort to purer water. For some years now, the quality of tap water has not been so good that it can simply be used for marine aquaristics. Especially nitrate, phosphate and silicate are real "enemies" of marine aquaristics. Quite a few have given up their seawater hobby after a few months because they couldn't get their system to work properly. Today we are sure that the quality of the water is an important point that should not be underestimated, also with regard to the regular water changes that have to be carried out later on.
Umkehrosmose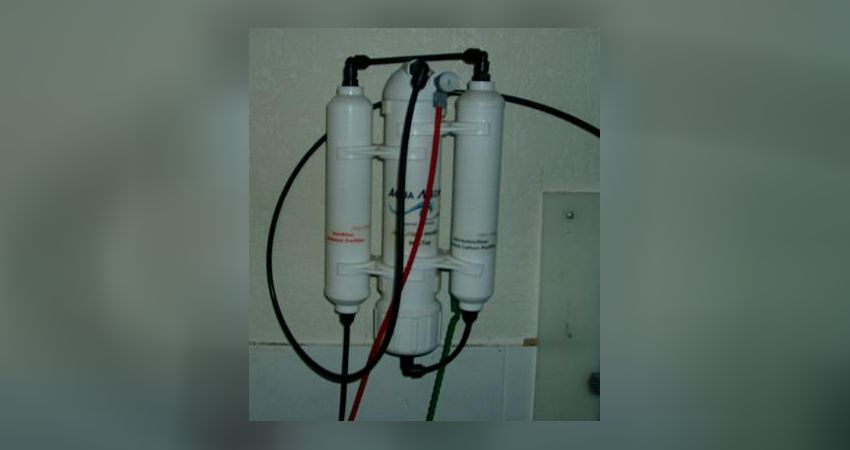
We therefore advise the use of water treatment, for example a reverse osmosis system. This removes, in brief, unwanted substances such as nitrate and phosphate as well as silicate via the membrane. Depending on the type of water you use (ask your water supplier), you may even need a silicate filter to remove any residual silicate. Osmosis systems usually manage up to 95% retention rate for most substances, but unfortunately only up to 85% for silicate. Hardly any more silicate should be detectable to be on the safe side. Especially in the initially biologically more delicate phase, brown diatoms occur, which can be traced back to the silicate. The smaller the quantity, the less diatoms will form. However, the disadvantage of osmosis systems is also obvious, you have up to 3 times as much waste water as pure water. A possible alternative could be resins, which specifically remove silicates or other substances.
I should also mention that there are some who work with tap water and also operate their tanks with it for years. Ultimately, it all depends on the quality of the source water. If you have hardly any nitrate (preferably below 5 mg) or phosphate (well below 0.1 mg) or silicate (also well below 0.3 mg) in the tap water, then there is certainly nothing to be said against using the performance water. But be careful, sometimes the quality fluctuates during the year. The best thing to do is to ask your water supply company and get a detailed analysis of the water aparmeter.
Decoration:
Of course, you will have already thought about what you want to maintain and how the stone structure should look. We would like to list a few possibilities here that could be used for the design of the pool.
Steine...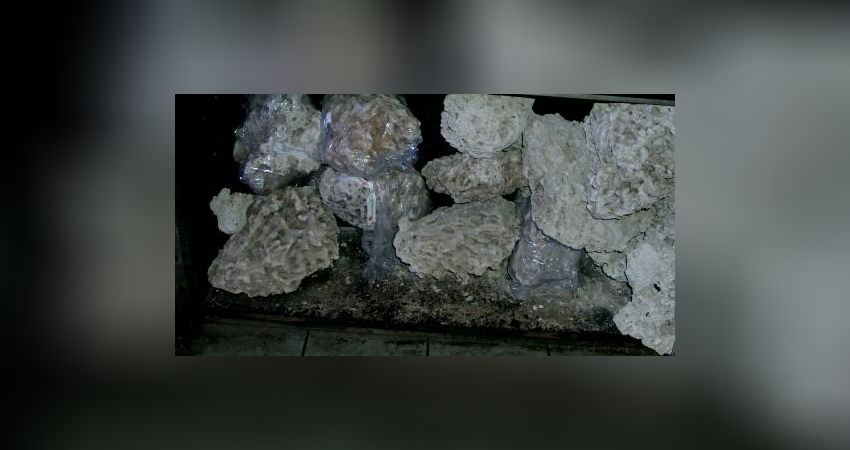
1. Substructure made of tufa:
Not a few aquarists have used tufa for the substructure. The substructure is then usually followed by the so-called living rock. Unfortunately, quite a few have also had problems with the use of these tuff rocks, especially if too much of it has been used. Since no one can say in advance what is in the rock, we advise against the use of this type of rock today. At least if you want to be on the safe side. Tuff rock usually contains a large amount of silicate and other heavy metals. This is due to the inclusions of the rock. However, if the amount used is small, it may work in some cases. However, the amount of rock should never exceed 10% of the total rock. Many tanks that only use tufa rock for cost reasons often have massive problems with algae growth and phosphate levels not dropping. The reason has already been mentioned, the accumulation gradually disappears from the rock! Here you have to decide for yourself whether to take a risk or not! The authors would not do it, although one of them has used 10% substructure material made of tufa rock and has not had any problems in the aquarium.
2. perforated rock:
We also advise against this. The reason is ultimately the same, you never know what is in the rock and where it comes from. Nevertheless, here too the expectation that it can also go well and you get clean rock that subsequently makes no problems. The big disadvantage is that perforated rock is heavy and not porous at all, which gives bacteria no place to settle in the rock. Whether you use it or not is ultimately up to you.
3. Artificial reef ceramics
For some years now, artificial reef ceramics have been increasingly used. In principle, we would consider this to be sensible, even if we do not think that it makes sense to have no living stones at all. A balanced ratio between artificial reef ceramics and live stones would be the better choice for the authors.
Riffkeramik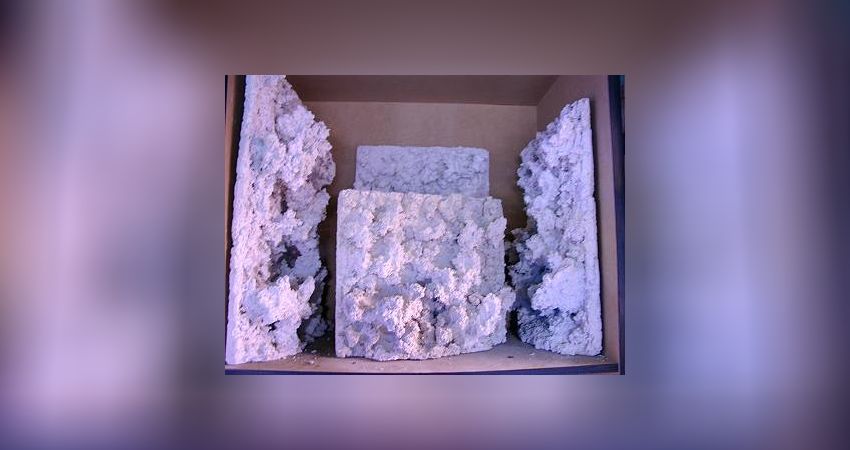
Riffkeramik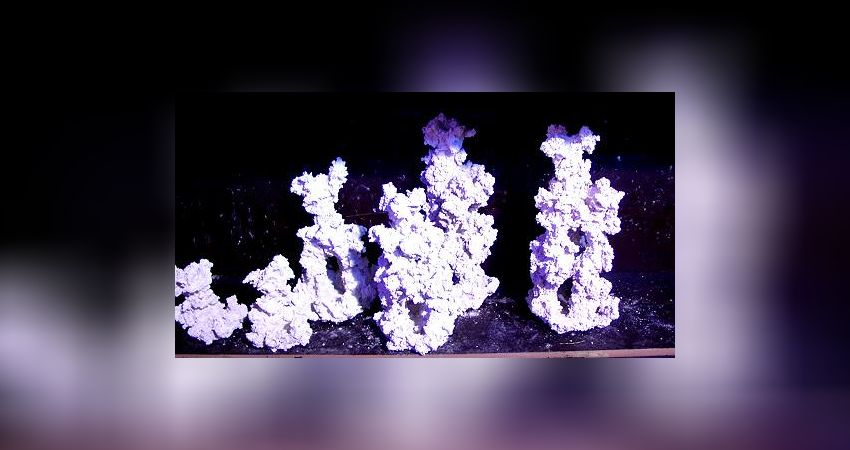
With reef ceramics, the standard parts are Rückwandplatten, Säulen or simply loose stones. In addition, almost all imaginable shapes can be realised, even on request from the manufacturer. A great advantage is certainly that nature is spared as the removal of living stones - for aquaristics - has become less. Another big advantage is that the so-called reef columns look as real as if they were made on real stones.... at least you can hardly see that it is an artificial column after it has been run in and stocked with corals. Based on the experience of the last few years, we can say that reef ceramics do not cause any problems and quickly grow with calcareous red algae. The most important advantage, however, is that the use of artificial reef ceramics does not bring pests into the tank, which will undoubtedly be the case with live stones. Despite all this, the authors advise against stocking a tank only with artificial reef rocks. A little life should already come into it, in the form of the following rock.
.
4. Living stones
Actually, living stones are the optimum for a functioning reef aquarium. However, in order to do justice to the topic of living rocks, we have to go a little further here. Basically the following applies: If you get fresh living rock then it is a real blessing, because it is still biologically active and a lot of life comes into the aquairum with the rock. This means that with luck you can even find corals, remains of corals, algae, swarm and other animals, which sometimes even start to grow again in the tank. Especially algae often grow out of the stones at the beginning. But corals can also start to grow after months, which is always an experience to be honest. The stones, like the fish and corals, come to us by air freight, transported in polystyrene boxes. The stones are wrapped partly in paper and are only packed damp, not wet. Although a large part of the "life" always dies, it subsequently recovers in the aquarium and makes the aquarium - biologically speaking - a biotope. There are quite a few suppliers who like to turn dead material into living material and take a few tuff stones and just let them soak for a few weeks or months.
schöner lebender Stein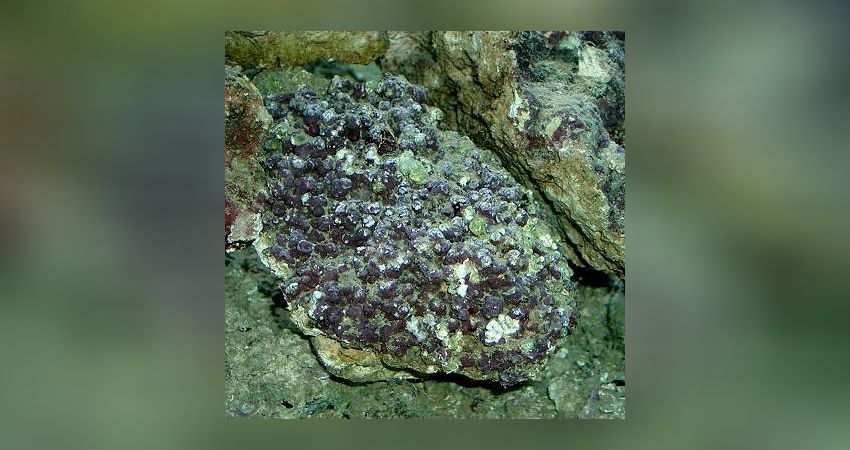
Becken in Einrichtung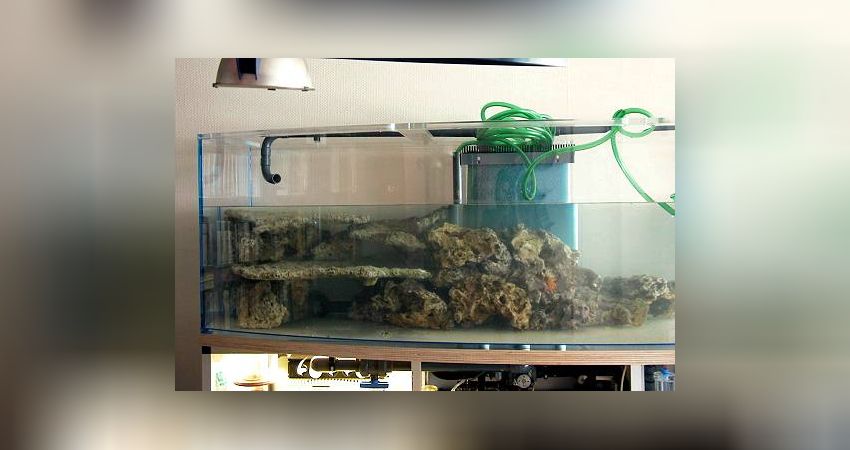
Good live rock can be recognised by the growth, by the many calcareous red algae and by the way it looks. There are often remnants of swarming there, as well as other fouling. Good living rock is, depending on its origin, light and porous and has the already mentioned growth on it. In the following you can see a fresh, albeit less porous stone that has just been imported. You can clearly see the accumulation of calcareous red algae which is often missing on hard rock. The quality of the stones has real differences from the point of view of the import area, but we will deal with these separately.
The big disadvantage of living stones, however, is that not only good things are brought in, but also enough "bad". The term "bad" is used here to refer to the so-called pests, which will appear even more frequently in the course of an aquarist's life. Pests are undesirable animals or invertebrates. These are, for example, glass lice, mini anemones called Anemonia mayano as well as crabs and crayfish. It is usually the case that these also need a while to recover from the transport and only emerge after a while. After that, good advice is expensive. Glass anemones and Mayano anemones in particular can harm other animals with their stinging power. Despite all this, the use of live rock is still the best choice. Simply because it brings biology into the tank! You should examine the newly acquired rocks more closely and remove what you see beforehand. (Bristle worms, dead sponges, crabs, crayfish) However, there are also useful animals here. Use suitable reference books to inform yourself. Not everything should be flushed down the toilet or disposed of, but can be useful and sensible.
Sometimes some aquarists also use grotto ceramics, known from fresh water, sometimes even from lava rock. This material is not to be used for marine aquaristics! Cave ceramics would be possible in themselves if they were not so sharp-edged. There is a danger that sea urchins and other algae-eating animals will injure themselves. In the interest of the animals, please refrain from doing so.
In sum, to be on the safe side, artificial reef ceramics as well as live stones remain. The two authors agree, either only live stones or a mixture of live stones and reef columns reflects what the two authors would recommend. One thing should be mentioned, however: there are quite a few aquarium enthusiasts, some of them beginners, who buy live rocks from various online markets. In our opinion, this is an absolute gamble with fire. Often used reef rock is contaminated with phosphate or pests and is then offered cheaply. To be on the safe side, leave them alone. You will pay back what you supposedly save later for regulatory measures.
Furnishing with stones and substrate:
After it is clear which stones you will use to furnish your aquarium, you must decide how to proceed. If there are only living stones, you do not have the time to leave them in the air for a long time and should bring the stones into the water a little faster. We assume, however, that you will first make a substructure on which the living stones will then be placed.
PVC sheets should be placed under any substructure stones because of their weight and the sharp edges of the stones. These, often grey Plexi sheets, prevent sharp stones from destroying the glass. When using Plexiglas aquariums, this sensible thing is of no use. The authors can only strongly advise using suitable material as protection against glass breakage! Just as important as PVC sheets is, of course, the correct positioning of the base. In particular, make sure that the substructure is absolutely horizontal. To check this, place a spirit level on the plate.
After the substructure stones have been placed, the authors will let ready-made salt water run in. This should have a density of 1.022 - 1.024, which also applies to the further future duration. When using a refractometer, you should only pay attention to the sailinitity scale, here a value of 35 per mille is to be adhered to. In practice, this means that you should add approx. 35 - 38 grams of salt to one litre of water. The previous recommendation of 33 grams is long out of date. It is advisable to heat the water to 25 degrees before adding the salt to avoid any salt precipitation. Another positive side effect is that the salt dissolves much faster in warm water. The trade offers suitable measuring devices in the form of armeters (the authors recommend the larger ones as they are more accurate) or refractometers. (The authors refer to their article über die verschiedenen Möglichkeiten des Salzmessung auf www.korallenriff.de - von Frank Diehl und Robert Baur 2003) Since this has already been described in sufficient form, we refer to it.
The authors have long üproved whether we should tell you, dear reader, various brands of salt, because, as in every area, there are better and worse ones, whereby this is also often difficult to measure. Over the years, every aquarist has his or her own experiences with one salt or another. However, the majority of salt brands offered in Germany can be recommended without any restrictions if they come from a specialist shop. There are some who mix salt themselves and offer it on online markets or in auction houses. The authors advise against this because you never know what has been mixed in there.
If you are already fit enough and know the relationships that are important here, you can at least measure the key data that seem important yourself.
The relevant key data for saltwater are:
Calcium (CA) : 400 - 440 mg/L
Magnesium (MG): 1250 - 1400 mg/L
Nitrate (No3): 0 mg/L
Phosphate (Po4): 0mg/L
Silicate (Si02): 0 mg/L
It has paid off in the long run, especially when caring for stony corals, to simply change the salt from time to time. Since no two salts are the same, this prevents a shortage or a surplus of certain substances. Many successful aquarists practise this today, alternating between usually three brands every week. Various discussion forums will certainly give you some opinions on which salt brands are good.
The substrate then follows. This is explained in more detail in the following chapter.
The choice of substrate:
In recent years, a larger substrate was usually used, mostly in grain sizes of 4 - 10 mm. For the last two years, a much finer substrate has been used, especially by internet users, namely fine sand. The sizes here are usually only 1 mm on average. In order to make a choice at all, you probably first have to know what the biological relationships are. Some aquarists try to achieve a nitrate decomposition via the substrate, which only works if the substrate is much higher than 4 cm. But most aquarists usually only use a substrate up to 3 cm high. We will go into more detail about the mode of action (nitrate degradation) of the high substrate in the chapter on Jaubert and D(eep)S(and)B(ed). At this point, however, we would like to clearly mention the disadvantage of the rather larger substrate. Because it is larger and not as dense as fine sand, much more dirt or detritus will settle in the bottom over time. This does not happen with fine sandy soil, as the dirt remains on the sand. This way, optimal strömung can remove the dirt from the tank !
grober Bodengrund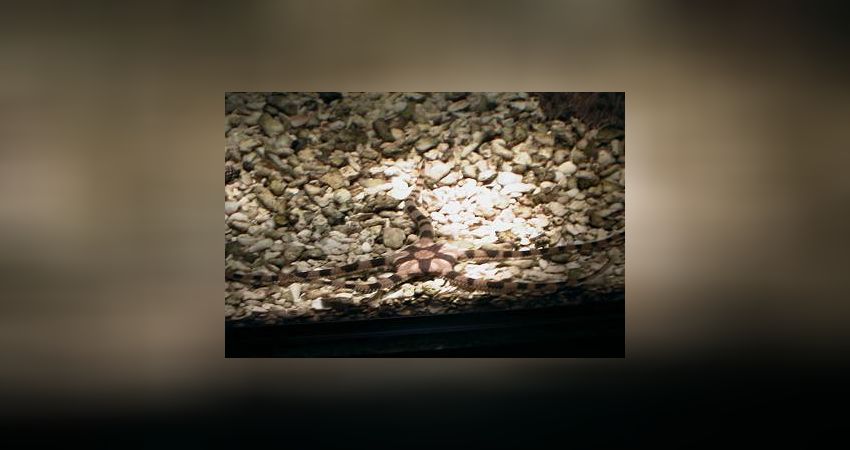
feiner Sand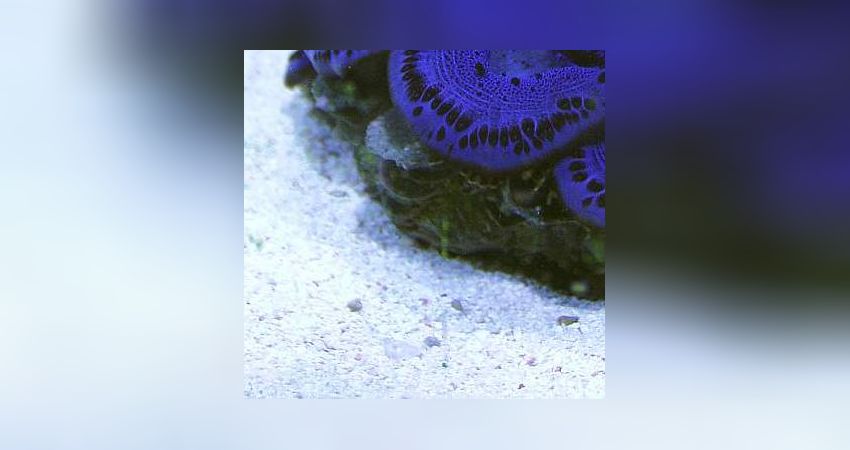
The authors also want to mention that fine substrate has the disadvantage that it is not particularly suitable for plexiglass aquariums. The disadvantage is easy to determine. Since you don't work with a blade cleaner in Plexiglas, you have the problem that you always get fine stones between the magnets with the pane magnet (modification according to Frank Diehl) and scratch the pane in the long run. This does not happen when using a glass tank, as you can easily use a blade cleaner there. Another disadvantage is that corals or other sessile animals can sometimes be damaged by sand. If they remain under the dense sand for a long time, this can have negative consequences for the animals, they sometimes die. Some aquarists report problems with their snails walking on the sand, but we can only partially confirm this. Depending on the species, it is indeed a problem to move around on the sand.
However, it is up to the aquarist to decide which substrate to use.
Once the substrate has been installed and the first salt water has been added, the substrate can be added. You should only fill the areas with substrate that are visible. It is therefore of little use to fill the rear part, which is usually not visible, with substrate. Exceptions are, of course, systems that value a deep sandy substrate, but more on this later in the chapter DSB (Deep Sand Bed)
Once the substrate has been added, the stone structure can be completed. After adding the living stones comes the almost famous run-in phase, which is sometimes a very important part of the tank biology.
Frank Diehl, Robert Baur-Kruppas
How do you like this article?
Info
Author

Bookmark
Comments
Topics
Similar articles
- 05 - Technical basin
- 11 - Calcium supply:
- 15 - Part 2 Filter systems - Sludge filter
- 09 - The protein skimmer
- How a marine aquarium is created Part 38: When corals become entangled, the fight for settlement space
- How a marine aquarium is created Part 21: Cyanos, fish and DIY aquarium net cover
- How a marine aquarium is created-Part 5: The current Part 2
- How a marine aquarium is created Part 30: Fish, corals, night shots
- How a marine aquarium is created Part 44: Changes are coming!
- How a seawater aquarium is created-Part 8: The salt, salinity and density
Comments To the top
Please register
In order to be able to write something yourself, you must register in advance.


